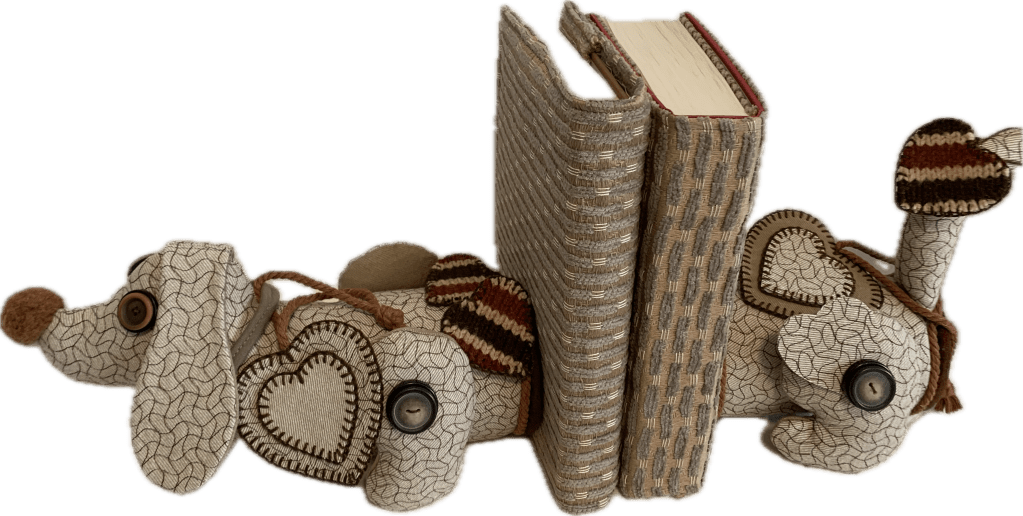
Hello everyone! It is Fran here, and I am so excited to share my latest crafting adventure with you all. Sometimes my hands need a bit of a rest from the heavy duty projects, so I decided to tackle something a little lighter and, quite frankly, absolutely adorable. If you have a soft spot for dachshunds (or “weenies” as I like to call them), you are going to love these Saltbox Suzie inspired bookends!
Finding Inspiration in the Archives
This whole project started when I was leafing through a lovely old magazine from 1985. I had already made a God’s eye Christmas tree from its pages, but then I spotted a pattern for “Saltbox Suzie” bookends. Back in the mid eighties, salt often came in those little round containers, and the idea was to fill them with sand and dress them up as a little dog. Since those specific containers are a bit hard to find these days, I had to put my thinking cap on and adapt.
The Great Snack Swap
I realised that a round chip container is the perfect modern substitute! So, the first step of this project was a very important one: eating all the chips. Once I had two empty containers, I was ready to go.
Because I wanted my dachshund to be a bit more substantial than the original 1985 version, I took the patterns from the magazine and glued them onto card stock to make sturdy templates. I even enlarged them a bit to make sure my weenie dog had plenty of presence on the shelf.
Material Magic and Upcycling
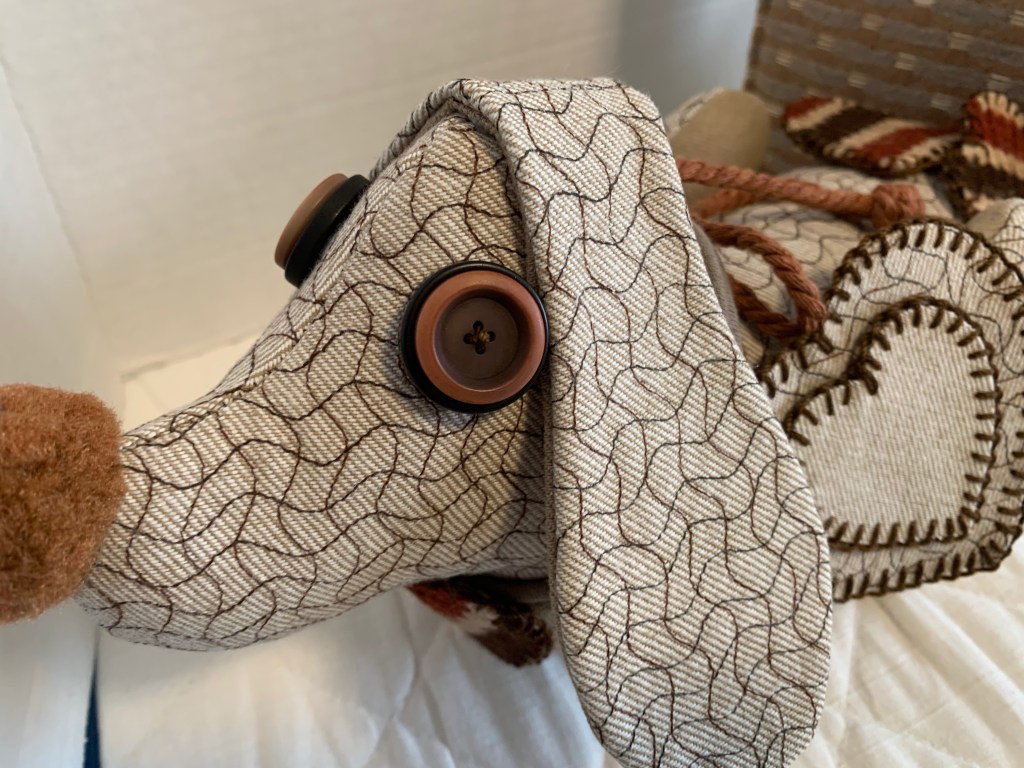
One of my favourite things about this project was the fabric. I used some old upholstery fabric from a hide-a-bed I used to have in a condo. It is nice and heavy duty, which is exactly what you want for a bookend that needs to stay put. To give it some extra character, I did some machine quilting on the fabric to add texture.
Here is a quick list of what I used:
- The Body: Two round chip containers.
- The Weight: Aquarium gravel (it is nice and heavy, and I taped the lids shut tightly).
- The Stuffing: Polyester fibre for that squishy dog look.
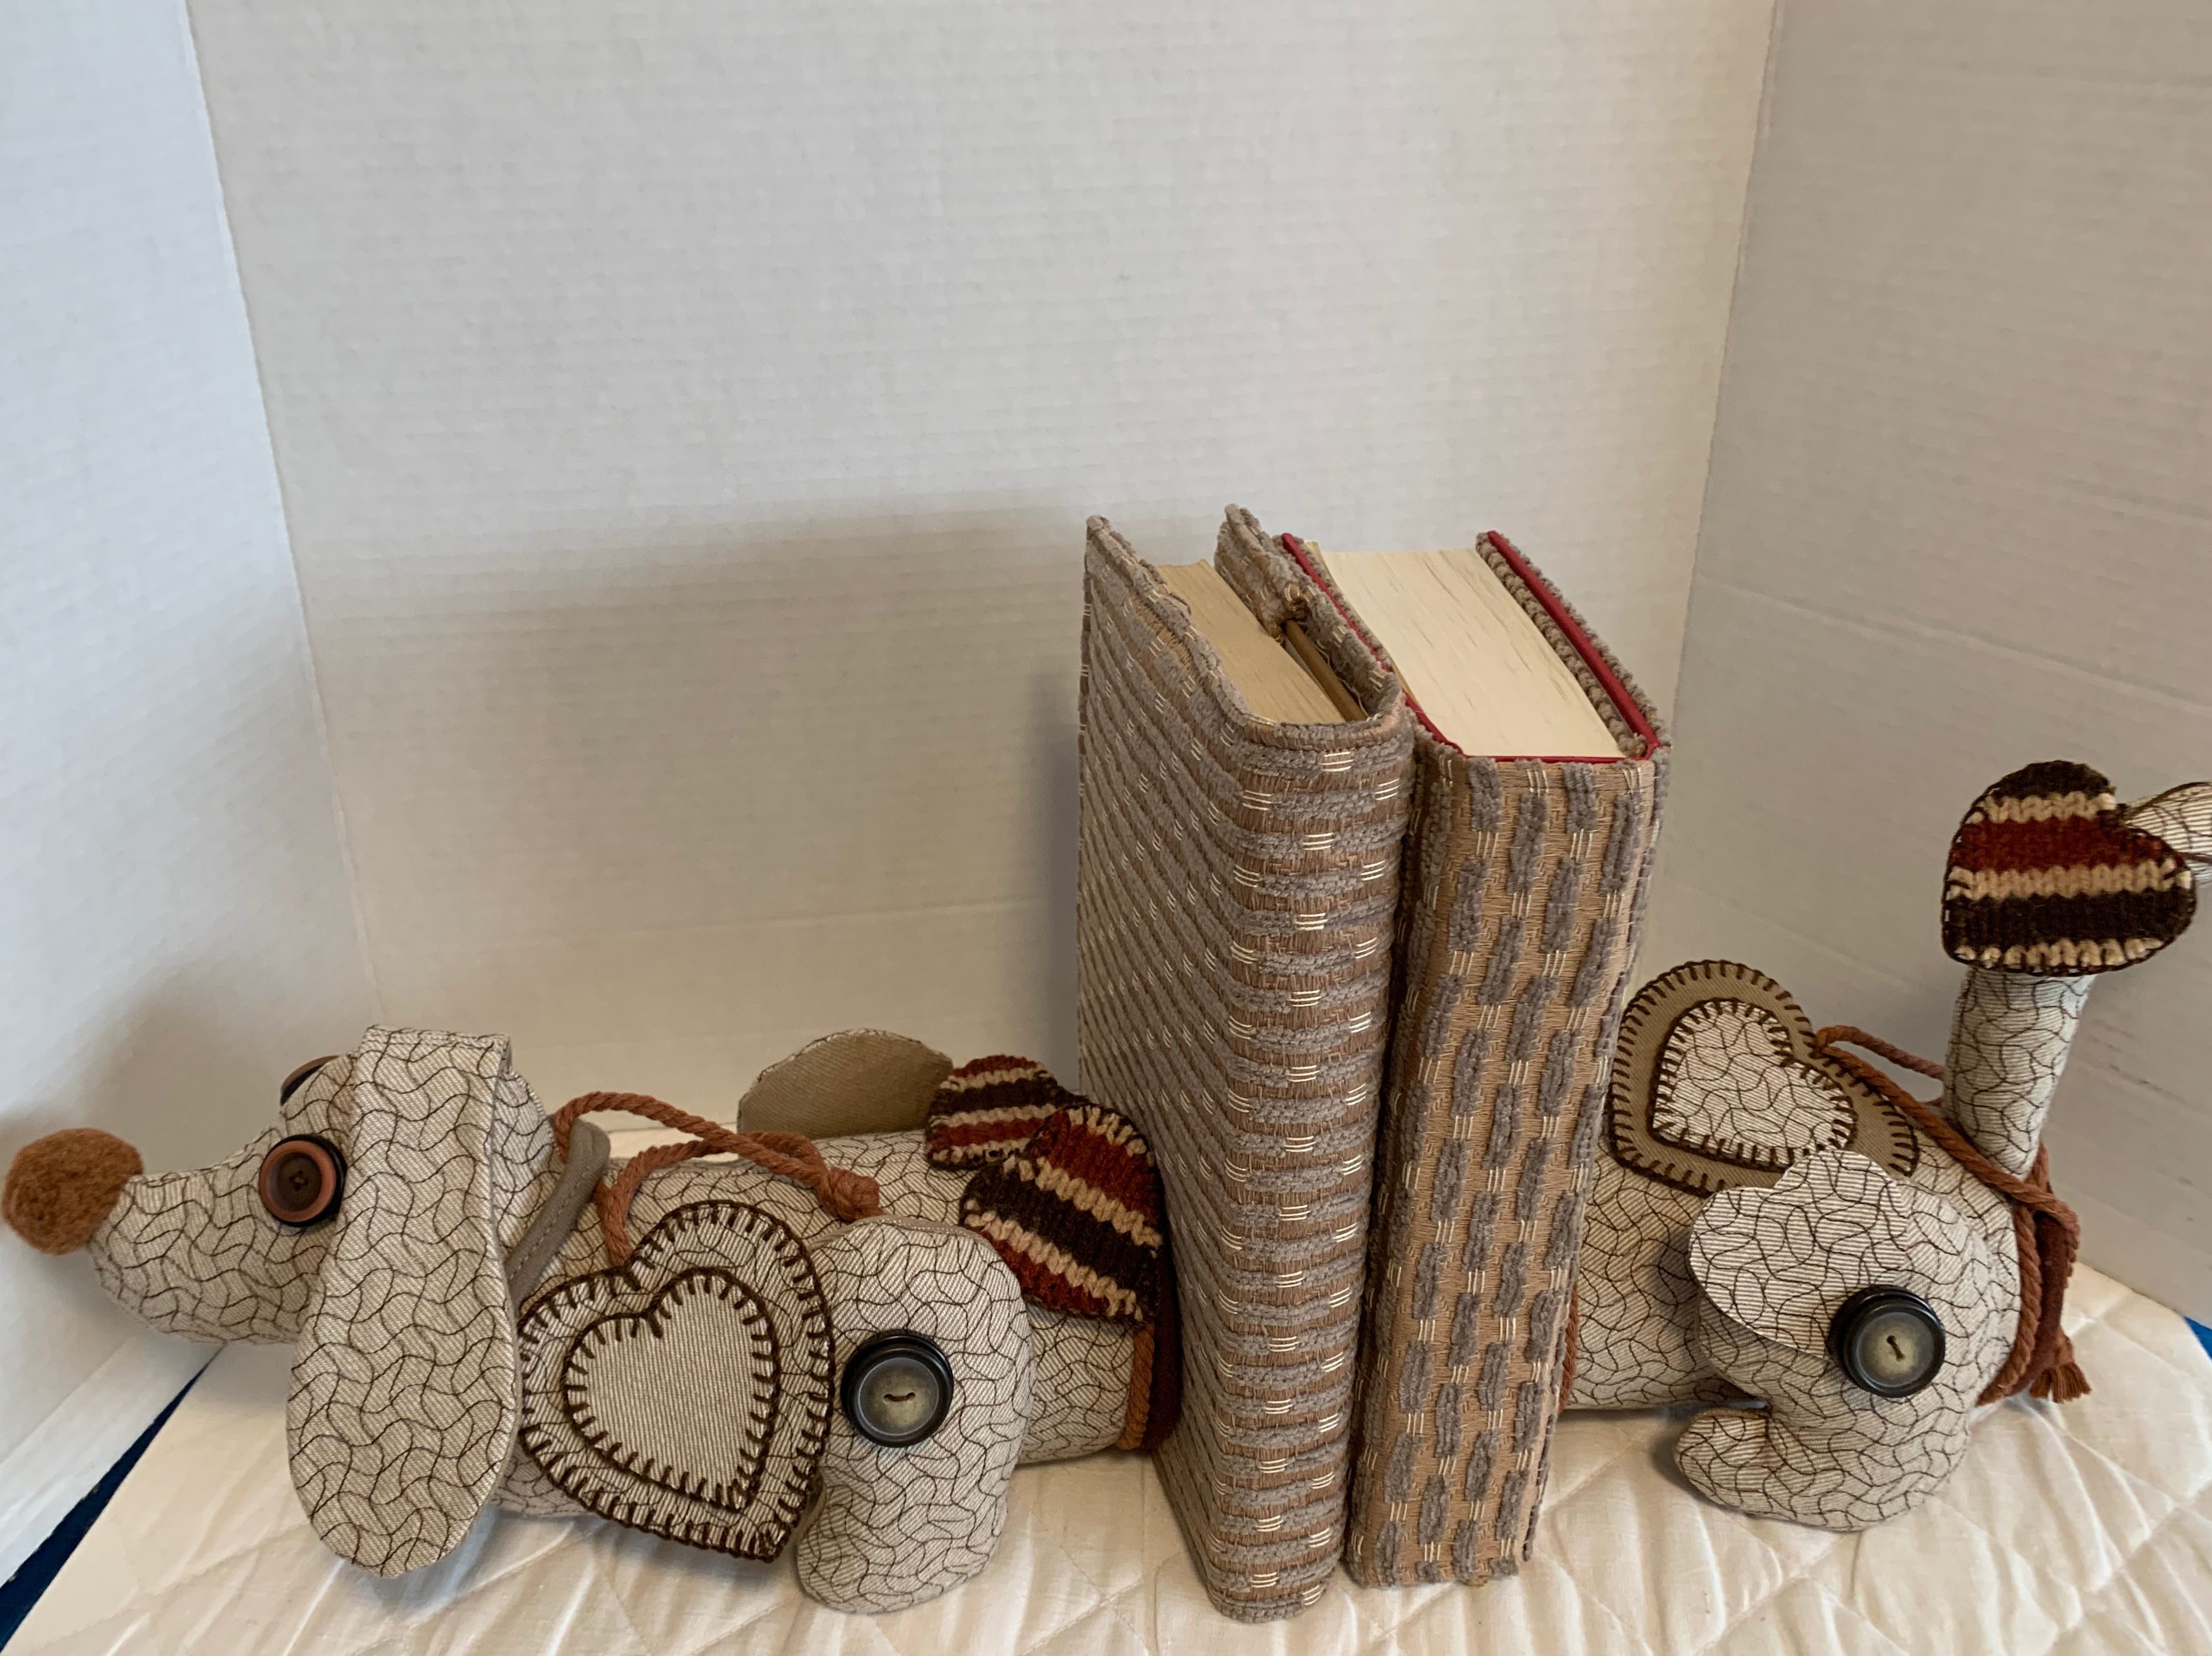
- The Details: Buttons for eyes, a pom pom for the nose, and some little wooden discs for the ends.
- Signature Touch: My classic signature hearts!
Bringing Suzie to Life
I sewed the fabric into a sleeve for the containers and gathered it tightly at the ends. For the head and tail, I used a clever little technique where I draw the pattern on the fabric with a pencil, sew right around the line, and then cut it out. It is so much easier than trying to match up two separate tiny pieces!
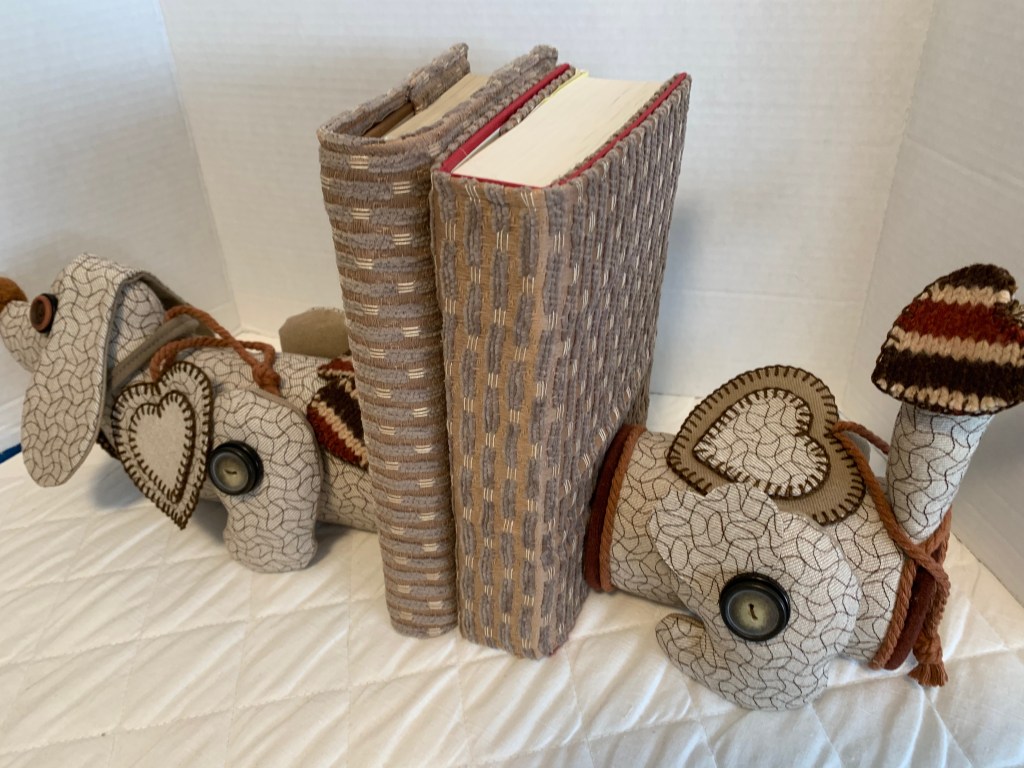
For the face, I actually utilised an old coat that my mother had knitted for my own dachshund for Christmas one year. It added such a sentimental, cosy feel to the face. I also made the tail a bit longer than the original pattern suggested because, let’s be honest, weenie dogs look better with a bit of extra length.
The Finishing Touches
To make sure the dog sat perfectly flat and wouldn’t roll over, I carefully measured the placement of the legs. I attached them with buttons for a bit of extra flair. There was a tiny gap where the head met the body, so I tucked in a bit of roping and glued it down to give it a professional, clean finish.
To really complete the look, I even covered some of my favourite family memory books in matching upholstery fabric. Now the whole set looks like a posh designer piece!
Final Thoughts
This project took me about two and a half to three days to complete, and I am just thrilled with the results. It was such a joy to breathe new life into an old 1985 pattern. If you have some old magazines lying about, I highly recommend flipping through them for inspiration. You never know what kind of treasures you might find!
Thanks for joining me on this journey. Keep being creative and I will see you in the next one!


Leave a comment