The Secret Sauce to Pro-Level Plushies: Seams, Hardware, and Stuffing!
Hey there, craft family! It’s Crafter Fran, back in the studio. You might remember my recent snail project—he was a cutie, wasn’t he? But let’s be real: those curves were a challenge.
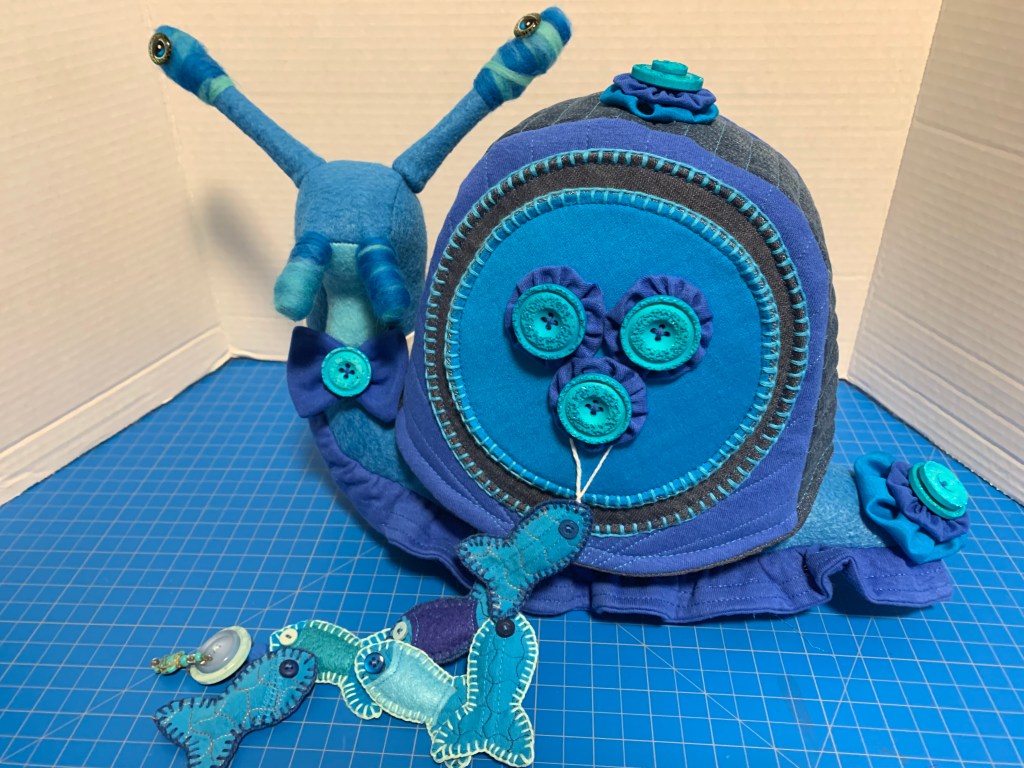
At a Snail’s Pace
Today, I’m pulling back the curtain to share the “unsexy” but oh-so-important techniques that turn a “homemade” project into a “professional” masterpiece. We’re talking crisp seams, genius hardware hacks, and the art of the perfect stuff.
Grab your tea (or your glue gun), and let’s get into the nitty-gritty!
🧵 Section 1: Sensational Seams
A great project starts at the machine, but it’s finished by hand. If you want those pristine lines, you have to treat your seams with respect!
- The “Start-Stop” Secret: Ever have your fabric slip right when you start sewing? I always start my stitch a little bit down from the edge, then backstitch to the top before going forward. It keeps those edges perfectly aligned!
- The Pressing Matter: For a seam to lie flat, it needs to be opened. You can use an iron, but for small projects, I love “finger pressing.” Run your nail hard along the seam line to crack it open. If it’s a tight spot, use a hard edge or even a knitting needle to push those corners out until they are perfectly squared.
- Curvy Confidence: When you’re making an animal, the curves are there for a reason—they create the shape! Taking the time to prep and open these seams ensures your snail (or bear!) doesn’t look lumpy or crooked.
🛠️ Section 2: Handy Hardware Hacks (Upcycle Alert!)
One of my favorite things is finding “hardware” in the recycling bin. Commercial joints can be expensive and hard to find, so why not look in your medicine cabinet?
- The Tylenol Joint: For my snail’s neck, I used two Tylenol container lids! I drilled holes for a screw, added some washers and nuts, and voilà—a sturdy, mobile joint for a fraction of the cost.
- Dowel Magic: When a pattern calls for fancy materials like epoxy sculpt that might be hard on your hands, pivot! I used wooden dowels for the horns and topped them with little hardware store end-caps to get that perfect rounded look.
- Fran’s Tool Tip: If you’re cutting dowels and don’t have a giant saw, look for a small handheld miter cutter. It makes snapping those tiny wooden pieces a breeze.
☁️ Section 3: The Art of Successful Stuffing
Stuffing isn’t just about shoving fluff into a hole. It’s about structure and weight!
- The Anchor: To keep my snail from tipping over, I filled an old nylon stocking with aquarium gravel and tucked it into the base. It gives the project a lovely “heaviness” that feels high-quality.
- The “Stuff and Wait” Method: My biggest tip? Stuff it, leave it for a day, and then stuff it again! Polyester settles, and you’ll often find “soft spots” the next morning.
- Professional Tools: I swear by my surgical forceps (straight and curved) and my specialized teddy bear stuffing tool. They help you reach those tiny “corners” and pack the fluff firmly to prevent rippling.
🪡 Section 4: The Flawless Closure
The ladder stitch is your best friend for closing up a project, but I have a special trick to make it easier.
Before I even start stuffing, I sew a “guide line” on my machine about a quarter-inch from the opening edge. This gives me a perfectly straight path to follow with my hand-sewing needle. I always use heavy-duty upholstery thread so I can pull that ladder stitch nice and tight without it snapping.
Fran’s Pro Tip: If you finish and aren’t happy with the seam? Hide a “multitude of sins” by appliqueing a cute little felt heart or a patch over the closure. It looks intentional and adorable!
Why Take the Extra Time?
I know, I know—we all want to see the finished product now. But bypassing these little steps usually leads to frustration. Taking two days to stuff a project properly or 10 minutes to iron a seam makes the difference between a toy that lasts a week and an heirloom that lasts a lifetime.


Leave a comment