Fran here, and I’m thrilled to walk you through my simple yet stunning ribbon fabric technique. Forget store-bought; let’s create something uniquely ours!
Fran’s Foolproof Ribbon Fabric Guide
Section 1: Gathering Your Supplies
First things first, let’s gather our materials. You’ll need:
- Fabric: Choose a base fabric. Cotton works well, but feel free to experiment with other stable fabrics.
- Adhesive Interfacing: This provides necessary stability. Opt for a lightweight, fusible interfacing.
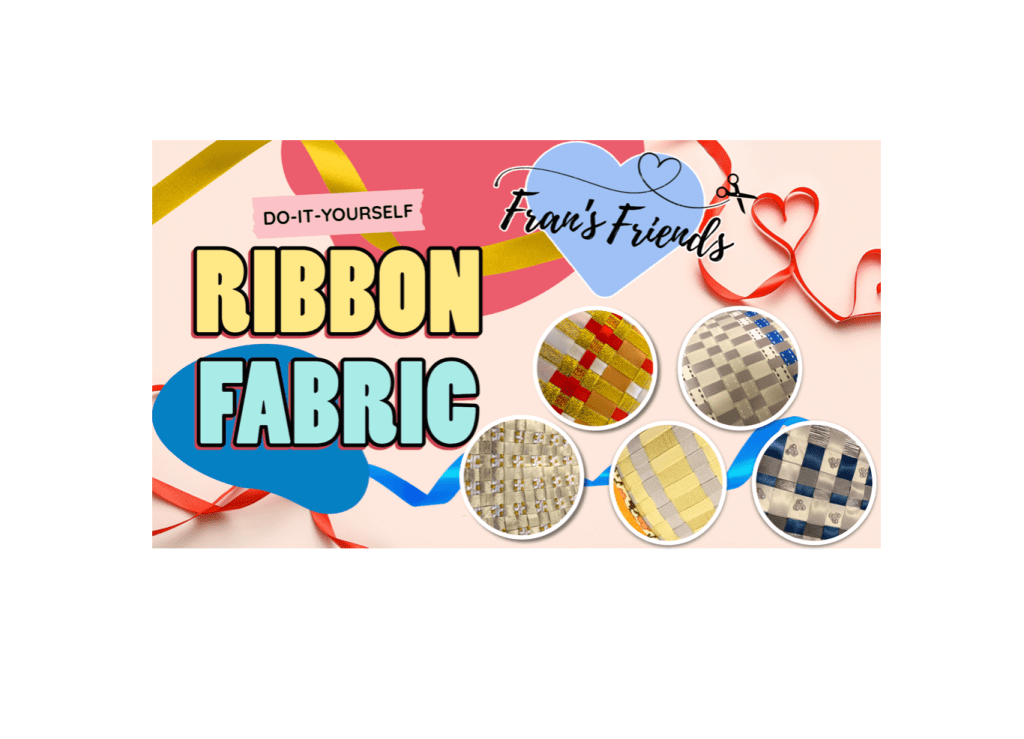
- Ribbons: The stars of our show! Select various colors, widths, and textures to create visual interest. Remember to get more than you think you’ll need.
- Sewing Machine: Essential for securing our ribbons.
- Iron and Ironing Board: For fusing the interfacing and pressing your finished fabric.
- Scissors: Sharp scissors for precise cutting.
- Ruler or Measuring Tape: To ensure accurate measurements.
- Pins: To hold your ribbons in place.
Section 2: Preparing the Base Fabric
Now, let’s prepare our base fabric:
- Cut: Cut your base fabric to your desired size.
- Apply Interfacing: Cut the adhesive interfacing to the same size as your fabric.
- Fuse: Place the interfacing on the back of your fabric and fuse it using your iron, following the manufacturer’s instructions. This will add stability and prevent the fabric from stretching.
Section 3: Laying the Initial Ribbons
Time to add our first layer of ribbons:
- Cut Ribbons: Cut your ribbons slightly longer than the width of your fabric. This extra length allows for securing and trimming later.
- Position: Place the ribbons along one edge of your fabric, overlapping slightly.
- Sew: Using your sewing machine, sew along the edge of the fabric, securing the ribbons in place. A quarter-inch seam allowance is a good guideline.
Section 4: Weaving the Ribbons
This is where the magic happens:
- Turn: Turn your fabric around so you can begin weaving the ribbons.
- Weave: Begin weaving the remaining ribbons through the first layer, alternating over and under. Create a woven pattern that appeals to you. Experiment with different ribbon arrangements.
- Continue: Continue weaving until you have covered the entire fabric surface.
Section 5: Securing the Woven Fabric
Now, we need to secure our woven ribbons:
- Sew Edges: Sew along all four edges of the fabric, securing the woven ribbons.
- Trim: Trim any excess ribbon extending beyond the edges of the fabric.
Section 6: Achieving Evenness and Finishing Touches
Let’s refine our creation:
- Pull and Push: Gently pull the ribbons taut and push them together to create a smooth, even surface.
- Final Sew: Sew along the edges one last time to ensure everything is securely in place.
- Final Trim: Trim any remaining loose threads or excess ribbon.
- Press: Give your finished ribbon fabric a good press with your iron to set the seams and create a polished look.
Section 7: Enjoying Your Creation
Congratulations! You’ve successfully created your own ribbon fabric. Now, the possibilities are endless! Use your fabric for:
- Pillows
- Bags
- Quilting projects
- Appliqués
- Anything else your heart desires.
I hope you’ve enjoyed this crafting adventure! Remember, creativity knows no bounds. So, experiment, have fun, and let your imagination soar. Happy crafting!


Leave a comment