Hello fellow crafters! Fran here, and today I’m diving into one of the most essential skills for any maker: resizing patterns. Whether you’re working with fabric, paper, or any other medium, being able to adjust patterns to your desired size is a game-changer.
The Variety of Pattern Printing Materials
Over the years, I’ve experimented with a wide array of materials for printing my patterns. Each one brings its own unique texture and functionality to the table. Some of my favorites include:
- Card Stock: Perfect for sturdy patterns that need to withstand repeated use.
- Plastic Page Dividers: Ideal for creating durable and reusable templates.
- Parchment Paper: Great for delicate patterns or when you need a translucent surface.
- Computer Paper: A classic choice for quick and easy pattern printing and my preference.
My Simple Method for Manual Resizing
Now, let’s get to the heart of the matter: how to resize a pattern manually. It’s a straightforward process that requires only a ruler and a pencil. Here’s my approach:
- Start with the Original Pattern: Lay your original pattern flat on a clean surface.
- Measure and Mark: Using your ruler, carefully measure the desired reduction. I recommend decreasing by no more than a half-inch at a time to maintain accuracy.
- Draw the New Outline: Draw a new outline around the original pattern, ensuring that the distance between the two lines is consistent.
- Cut and Refine: Carefully cut along the new outline. You may need to refine the edges to ensure a smooth and accurate shape.
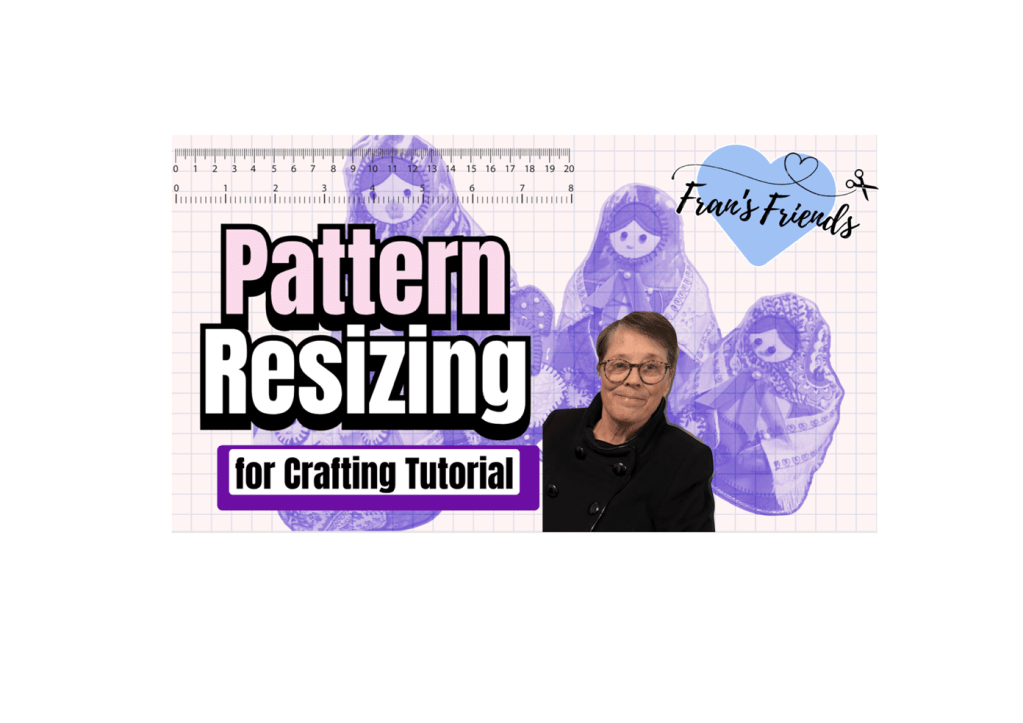
Visual Examples: Babushka Dolls and Fish
To illustrate this method, I often use the examples of babushka dolls and fish.
- Babushka dolls are excellent for demonstrating how to create a set of progressively smaller patterns.
- Fish patterns are perfect for showcasing how to generate multiple sizes from a single design, allowing for variations in your projects.
Key Tips for Success
- Precision is Key: Take your time and measure carefully.
- Incremental Adjustments: Avoid making drastic changes in size at once.
- Practice Makes Perfect: Don’t be afraid to experiment and refine your technique.
I hope this guide helps you confidently resize your patterns and bring your creative visions to life. Happy crafting!


Leave a comment